Subnautica 2 Depth Module: Blueprint Location and Crafting Guide
The deep zones of the Lost River are terrifying, but they don't have to be an insurmountable obstacle. For too long, players have struggled with the restrictive depth limits of the tadpole submarine, fearing the crushing pressure and limited oxygen of the abyss. What if there was a way to bypass those restrictions entirely? The Depth Module changes everything, offering a breakthrough in deep-sea exploration that transforms the game's vertical play into a true deep-dive experience. Why this matters: This single upgrade doesn't just extend your range; it fundamentally alters how you approach high-risk, high-reward zones.
What this means for players: Mastering this upgrade requires pinpoint knowledge of the depth module blueprint location Subnautica 2, making the acquisition process as crucial as the installation itself. If you want to survive the deepest trenches and claim every secret the Lost River holds, pay close attention to the steps below.
The Depth Module Changes Everything
Before the Depth Module, venturing too far down meant running into operational limits or risking catastrophic hull failure. This module is the key to true submersible freedom. By equipping the Depth Module, you are essentially giving your tadpole a massive, permanent upgrade to its structural integrity and life support systems.
The benefits are immediate and profound. The module significantly boosts the tadpole's depth resistance, allowing you to operate in zones previously deemed too dangerous. Most critically, it increases the submersible's operational depth to a staggering 450 meters before structural hull damage becomes a risk. This provides players with an extra 200 meters of crucial exploration range, transforming cautious skimming into confident deep-sea diving.
This enhanced range means you can no longer plan your deep dives around predictable oxygen bubbles or shallow checkpoints. You can push deeper, faster, and safer, granting unparalleled access to rare resources and hidden lore.
Acquiring the Essential Blueprint
You can’t install what you don’t have. The first major hurdle is locating the necessary schematic. Fortunately, the depth module blueprint location Subnautica 2 is highly specific, meaning you won't be wandering aimlessly through the abyssal trenches. Follow these precise steps to find the blueprint.
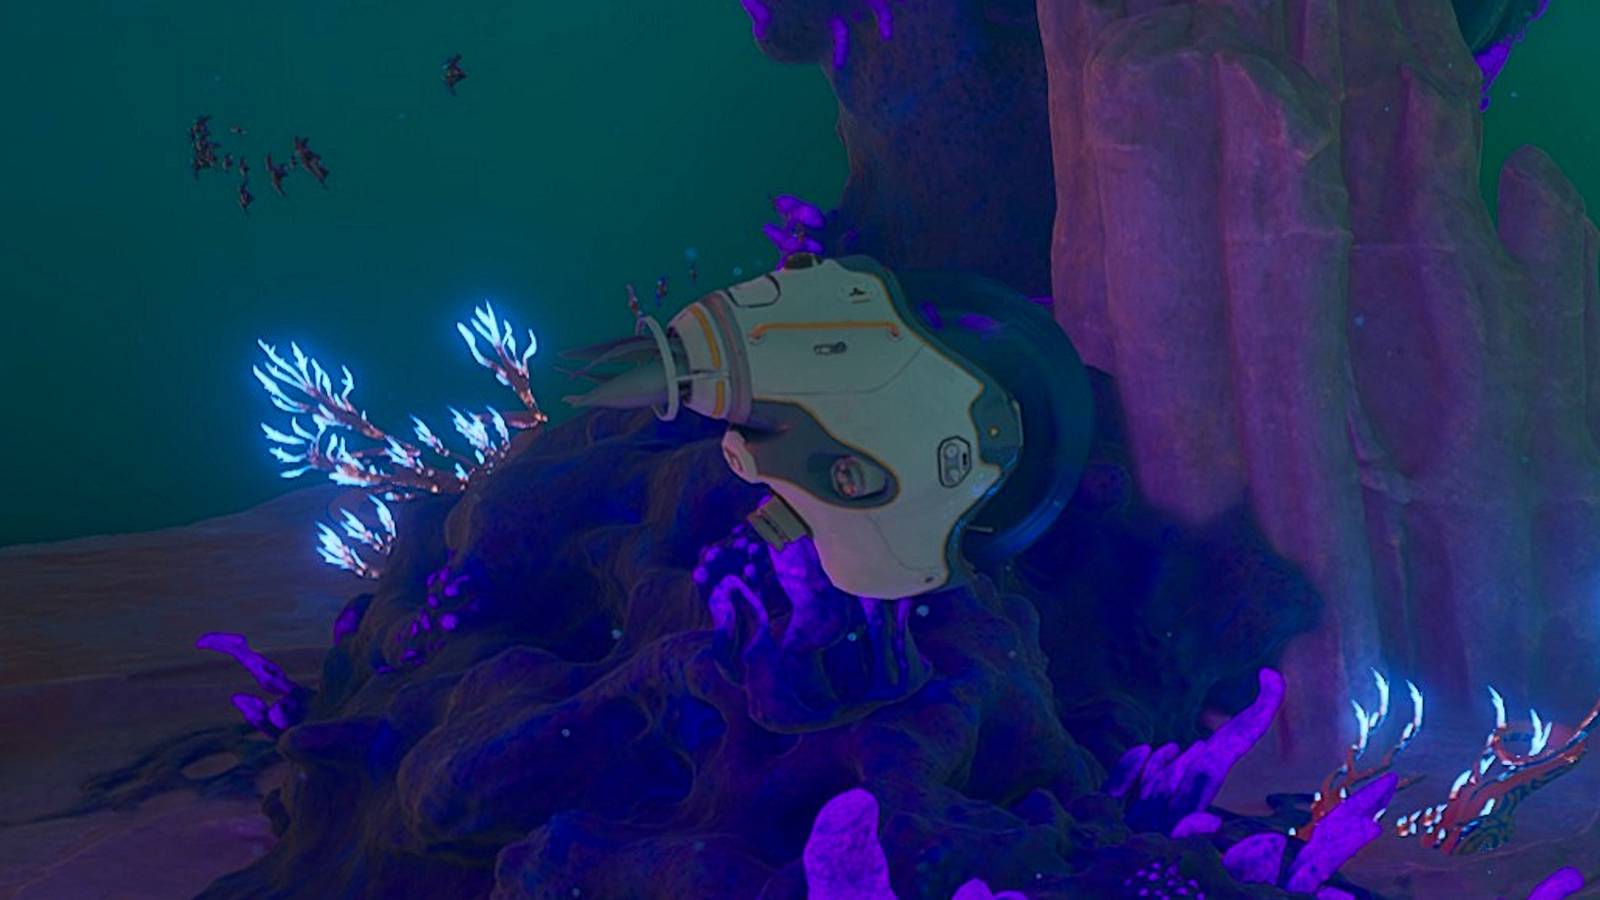
The blueprint is situated near Ruby's second blackbox, making the Alien Ruins area your primary search zone. To pinpoint the exact location, travel 270 meters southeast of the prominent Alien Ruins marker. Once you arrive at that general area, continue moving until you find the signal emanating from Ruby's tadpole wreckage. The blueprint itself is located a short, manageable 50 meters north of that specific signal source.
Be careful not to confuse this blueprint with other similar schematics. The proximity to Ruby's wreckage is the clearest marker, ensuring you secure the correct item needed for your Subnautica 2 tadpole depth resistance guide.
Crafting and Installing the Upgrade
Once you have the blueprint, the next steps involve gathering materials and successfully installing the module. This process requires three distinct stages: crafting the core component, assembling the module, and finally, the installation.
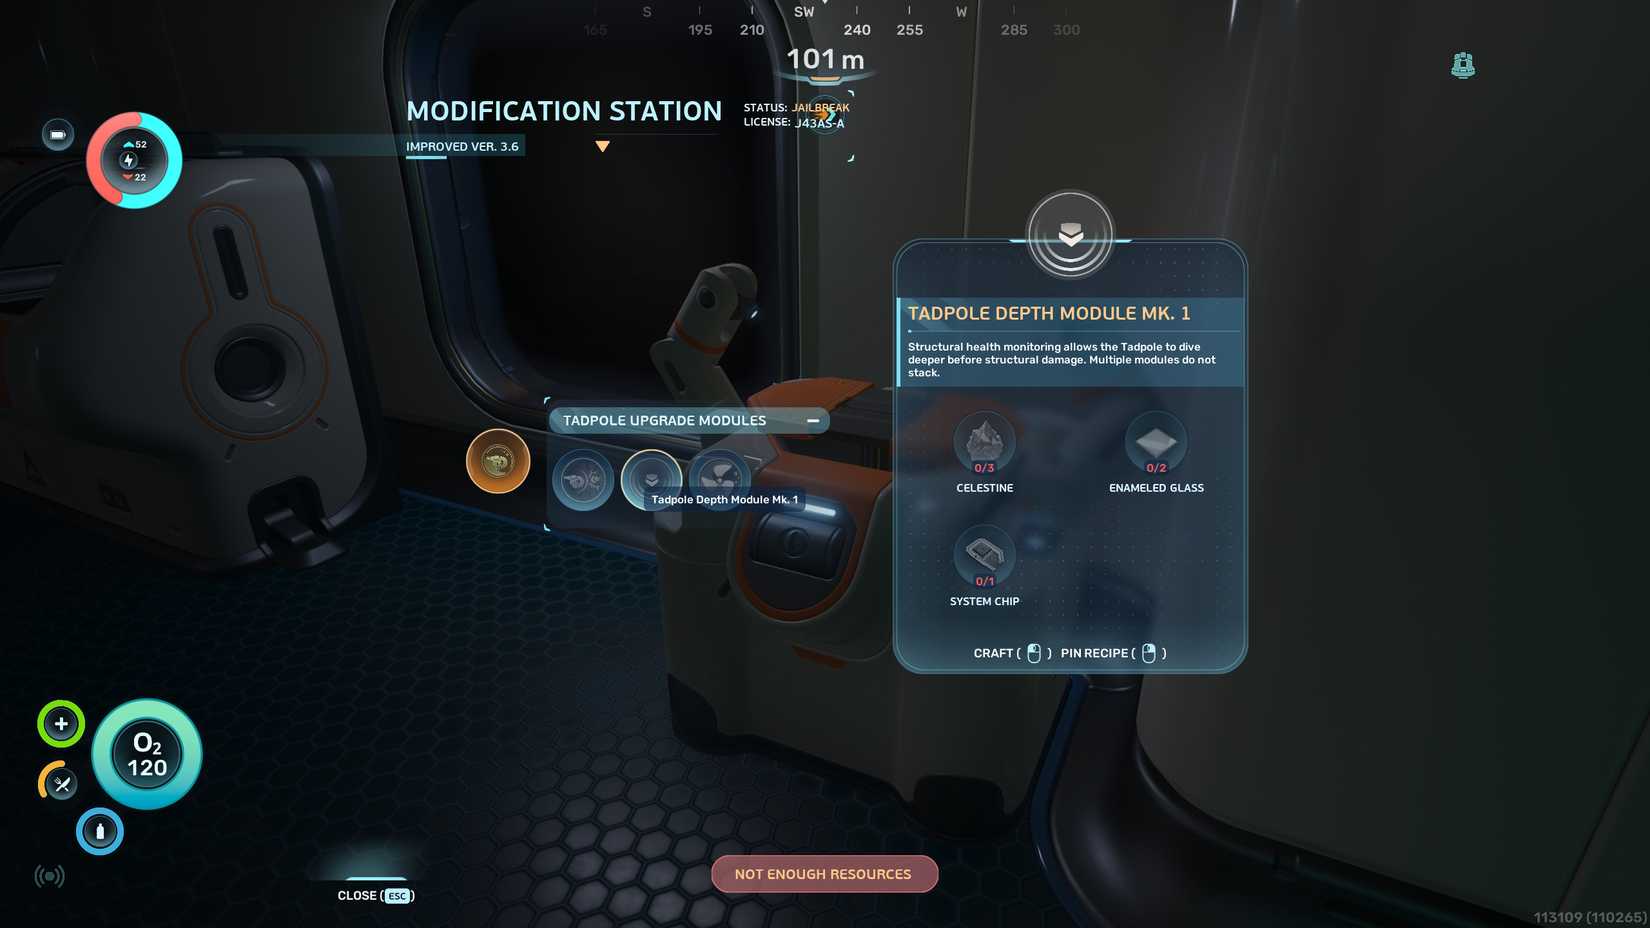
1. Initial Component Crafting
You must first travel to a Modification Station. This station is the required workbench for the upgrade. The primary materials needed for the initial crafting are straightforward: you will require 2 copper, 2 titanium, and 2 celestine. Use these resources to create the base module component.
2. Assembling the Depth Module
After the base component is ready, you need to assemble the full Depth Module. For this stage, the material list changes: you will need 2 enameled glass, 3 celestine, and 1 system chip. These are the resources that form the final, functional Depth Module.
3. Installation Procedure
The final step is the physical installation into the tadpole. Approach the modification hatch, which is strategically located behind the power cell slot on the submersible. Use the module and the hatch interface to complete the upgrade. Once installed, your depth capabilities will instantly jump to the new, vastly superior limits.
This comprehensive guide to the depth module blueprint location Subnautica 2 ensures that you move from zero depth resistance to deep-sea mastery in one efficient session. Mastering this upgrade is the single biggest factor in unlocking the game's deepest secrets.
The rewards for this deep dive exploration tips are massive. You gain not just depth, but a new sense of freedom. The ability to operate safely at 450 meters changes your entire exploration rhythm, turning the end-game into a thrilling, unrestricted journey.
In the coming weeks, players will likely begin encountering environmental hazards that require even more advanced power solutions, suggesting future modules will focus on energy management. Expect a deep dive into advanced life support systems, pushing the limits beyond simple hull resistance. Furthermore, the narrative focus will likely shift to coordinating multiple submersible upgrades, requiring players to manage complex resource chains across different biomes.
Frequently Asked Questions
Where exactly is the depth module blueprint located?
The blueprint is found near Ruby's second blackbox. Specifically, travel 270 meters southeast of the Alien Ruins marker and look 50 meters north of the signal from Ruby's wreckage.
What materials are needed for the Depth Module upgrade?
Crafting the core module requires 2 enameled glass, 3 celestine, and 1 system chip. You must use a Modification Station to complete the installation.
Does this upgrade affect oxygen consumption?
While the module increases depth resistance and operational range to 450 meters, it primarily focuses on structural integrity rather than directly altering the oxygen consumption rate.
Confirmed details first, useful context second. This is the quickest path to the source trail and the next pages worth opening.
Source date: May 16, 2026